
Blog
The latest news, product updates, energy expertise, and climate perspectives from Arcadia.

Now that the new SEC climate disclosure rule has been finalized, businesses need to understand what the new rules entail. Here’s how to prepare for the future of carbon reporting.
Featured stories
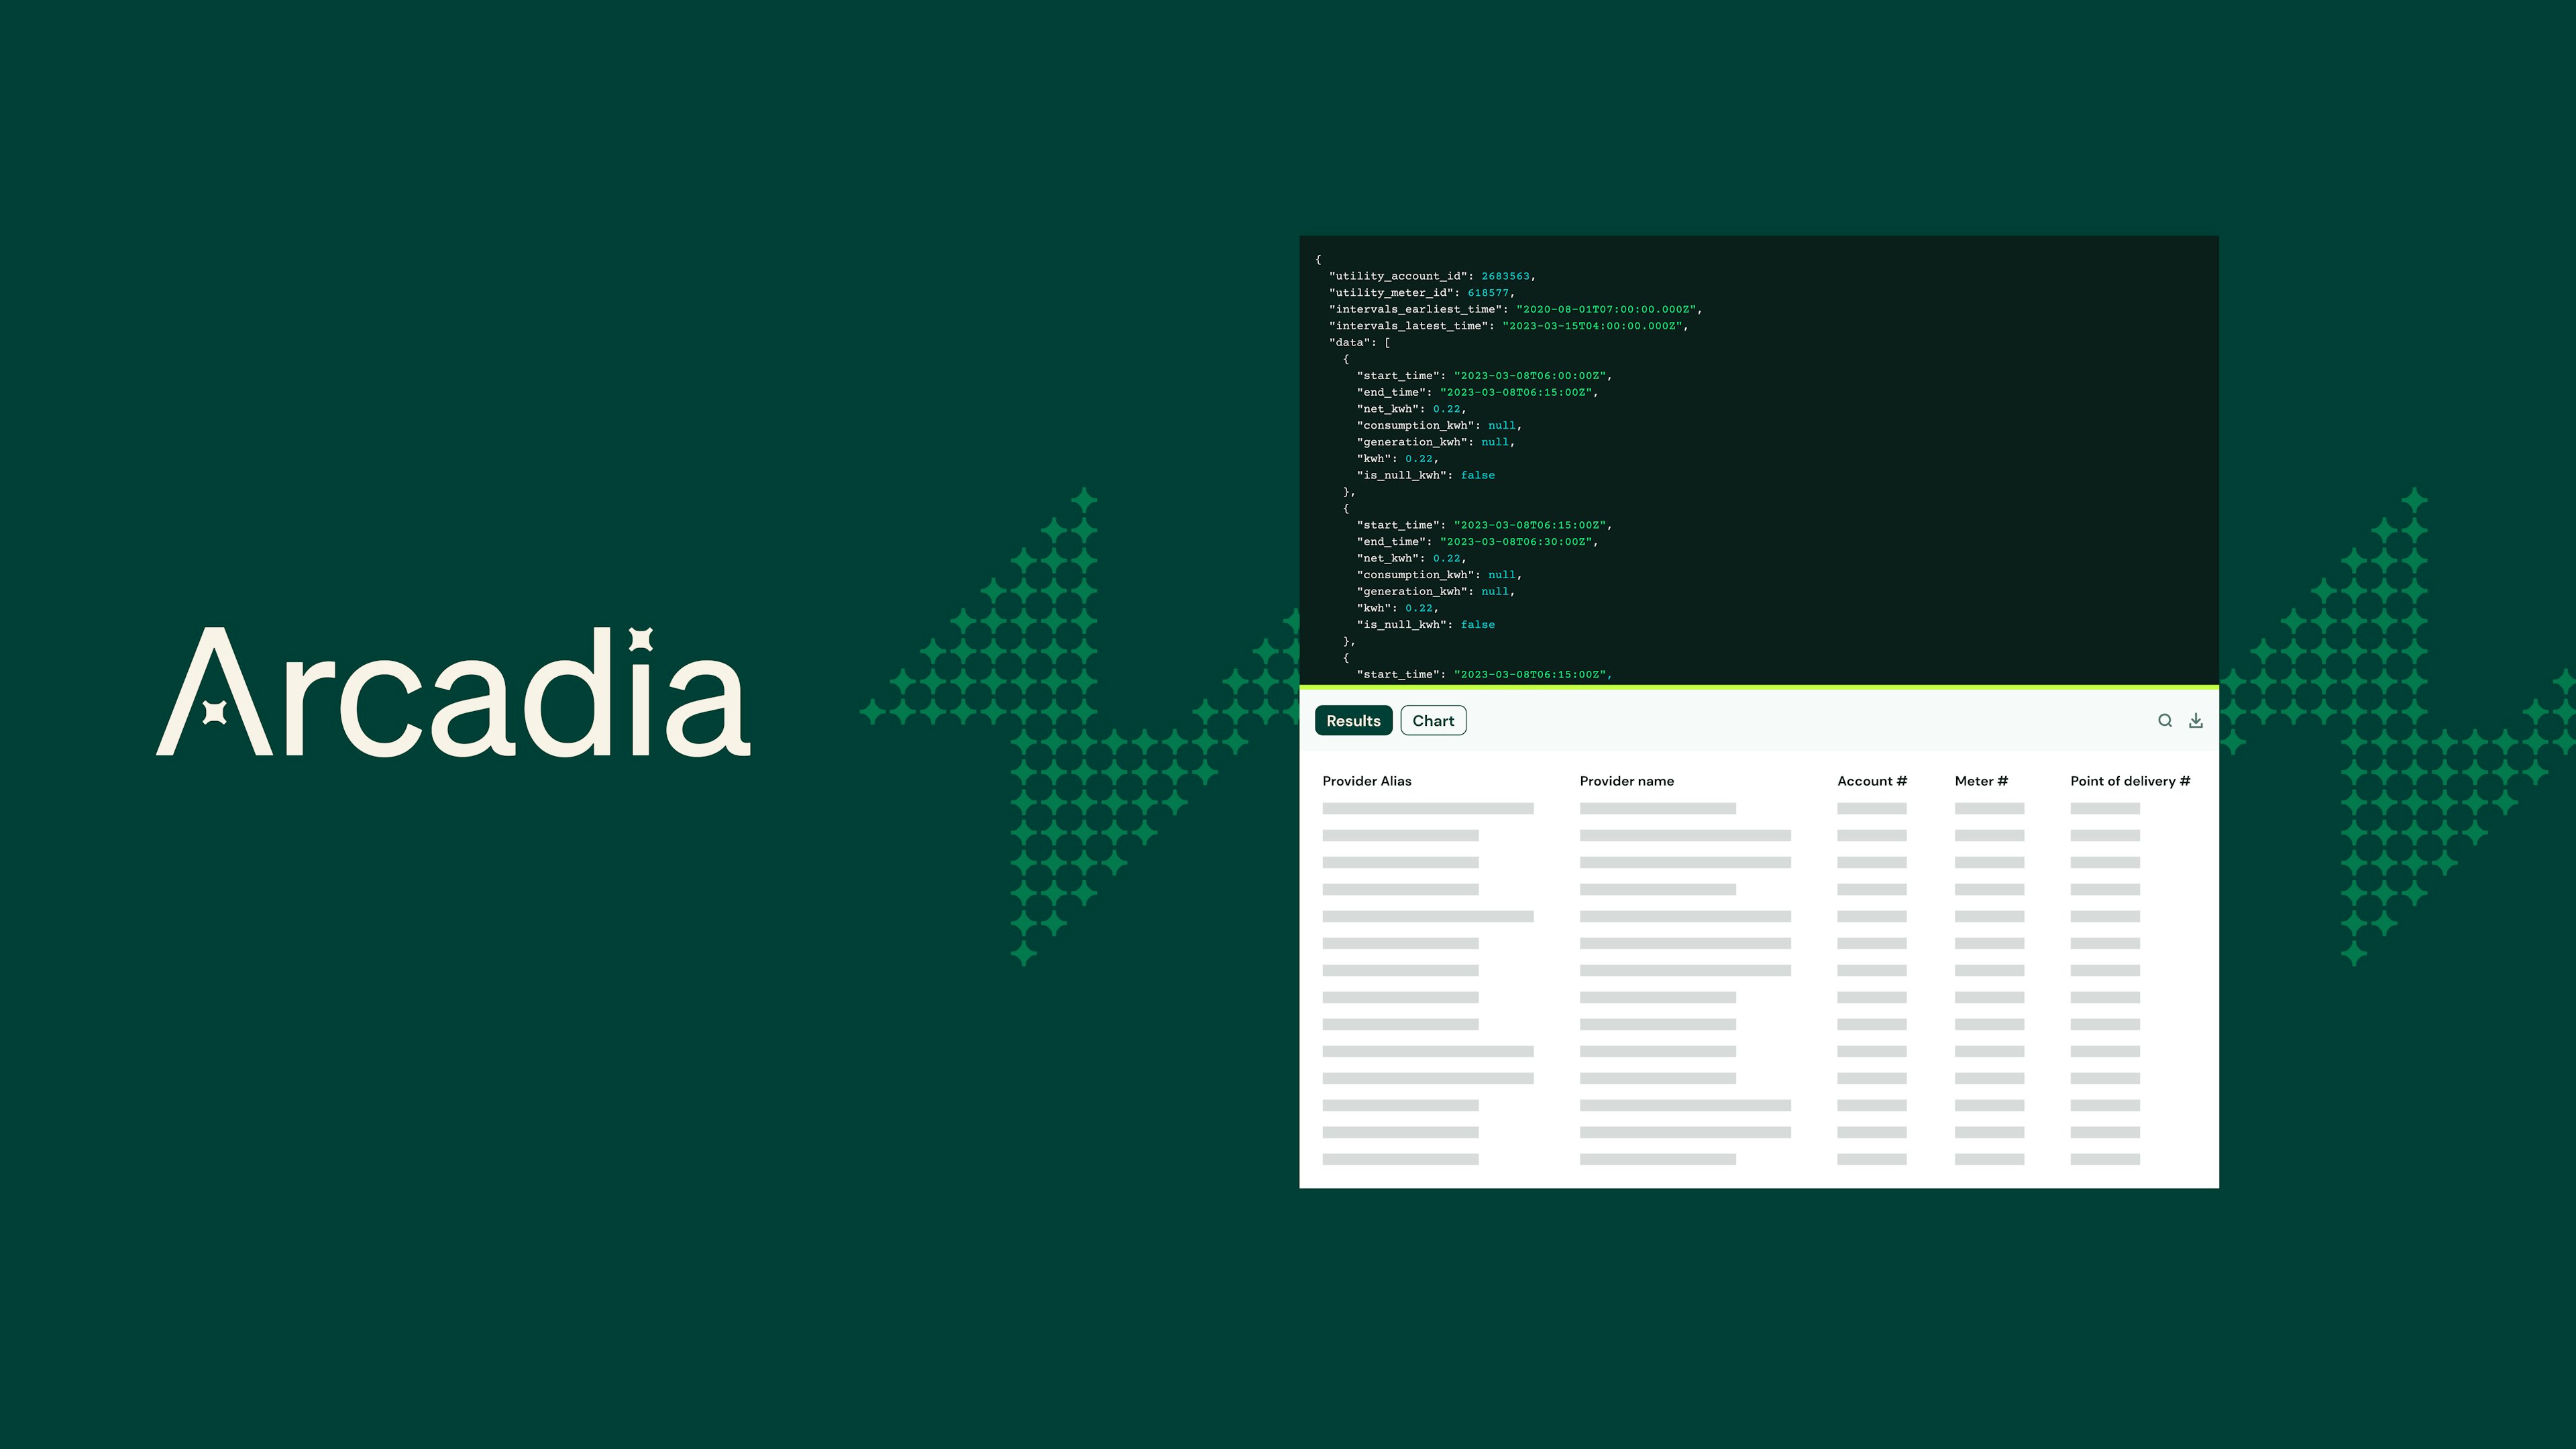
We’re releasing a new feature that makes our Plug product even more powerful and easier to use for your business.
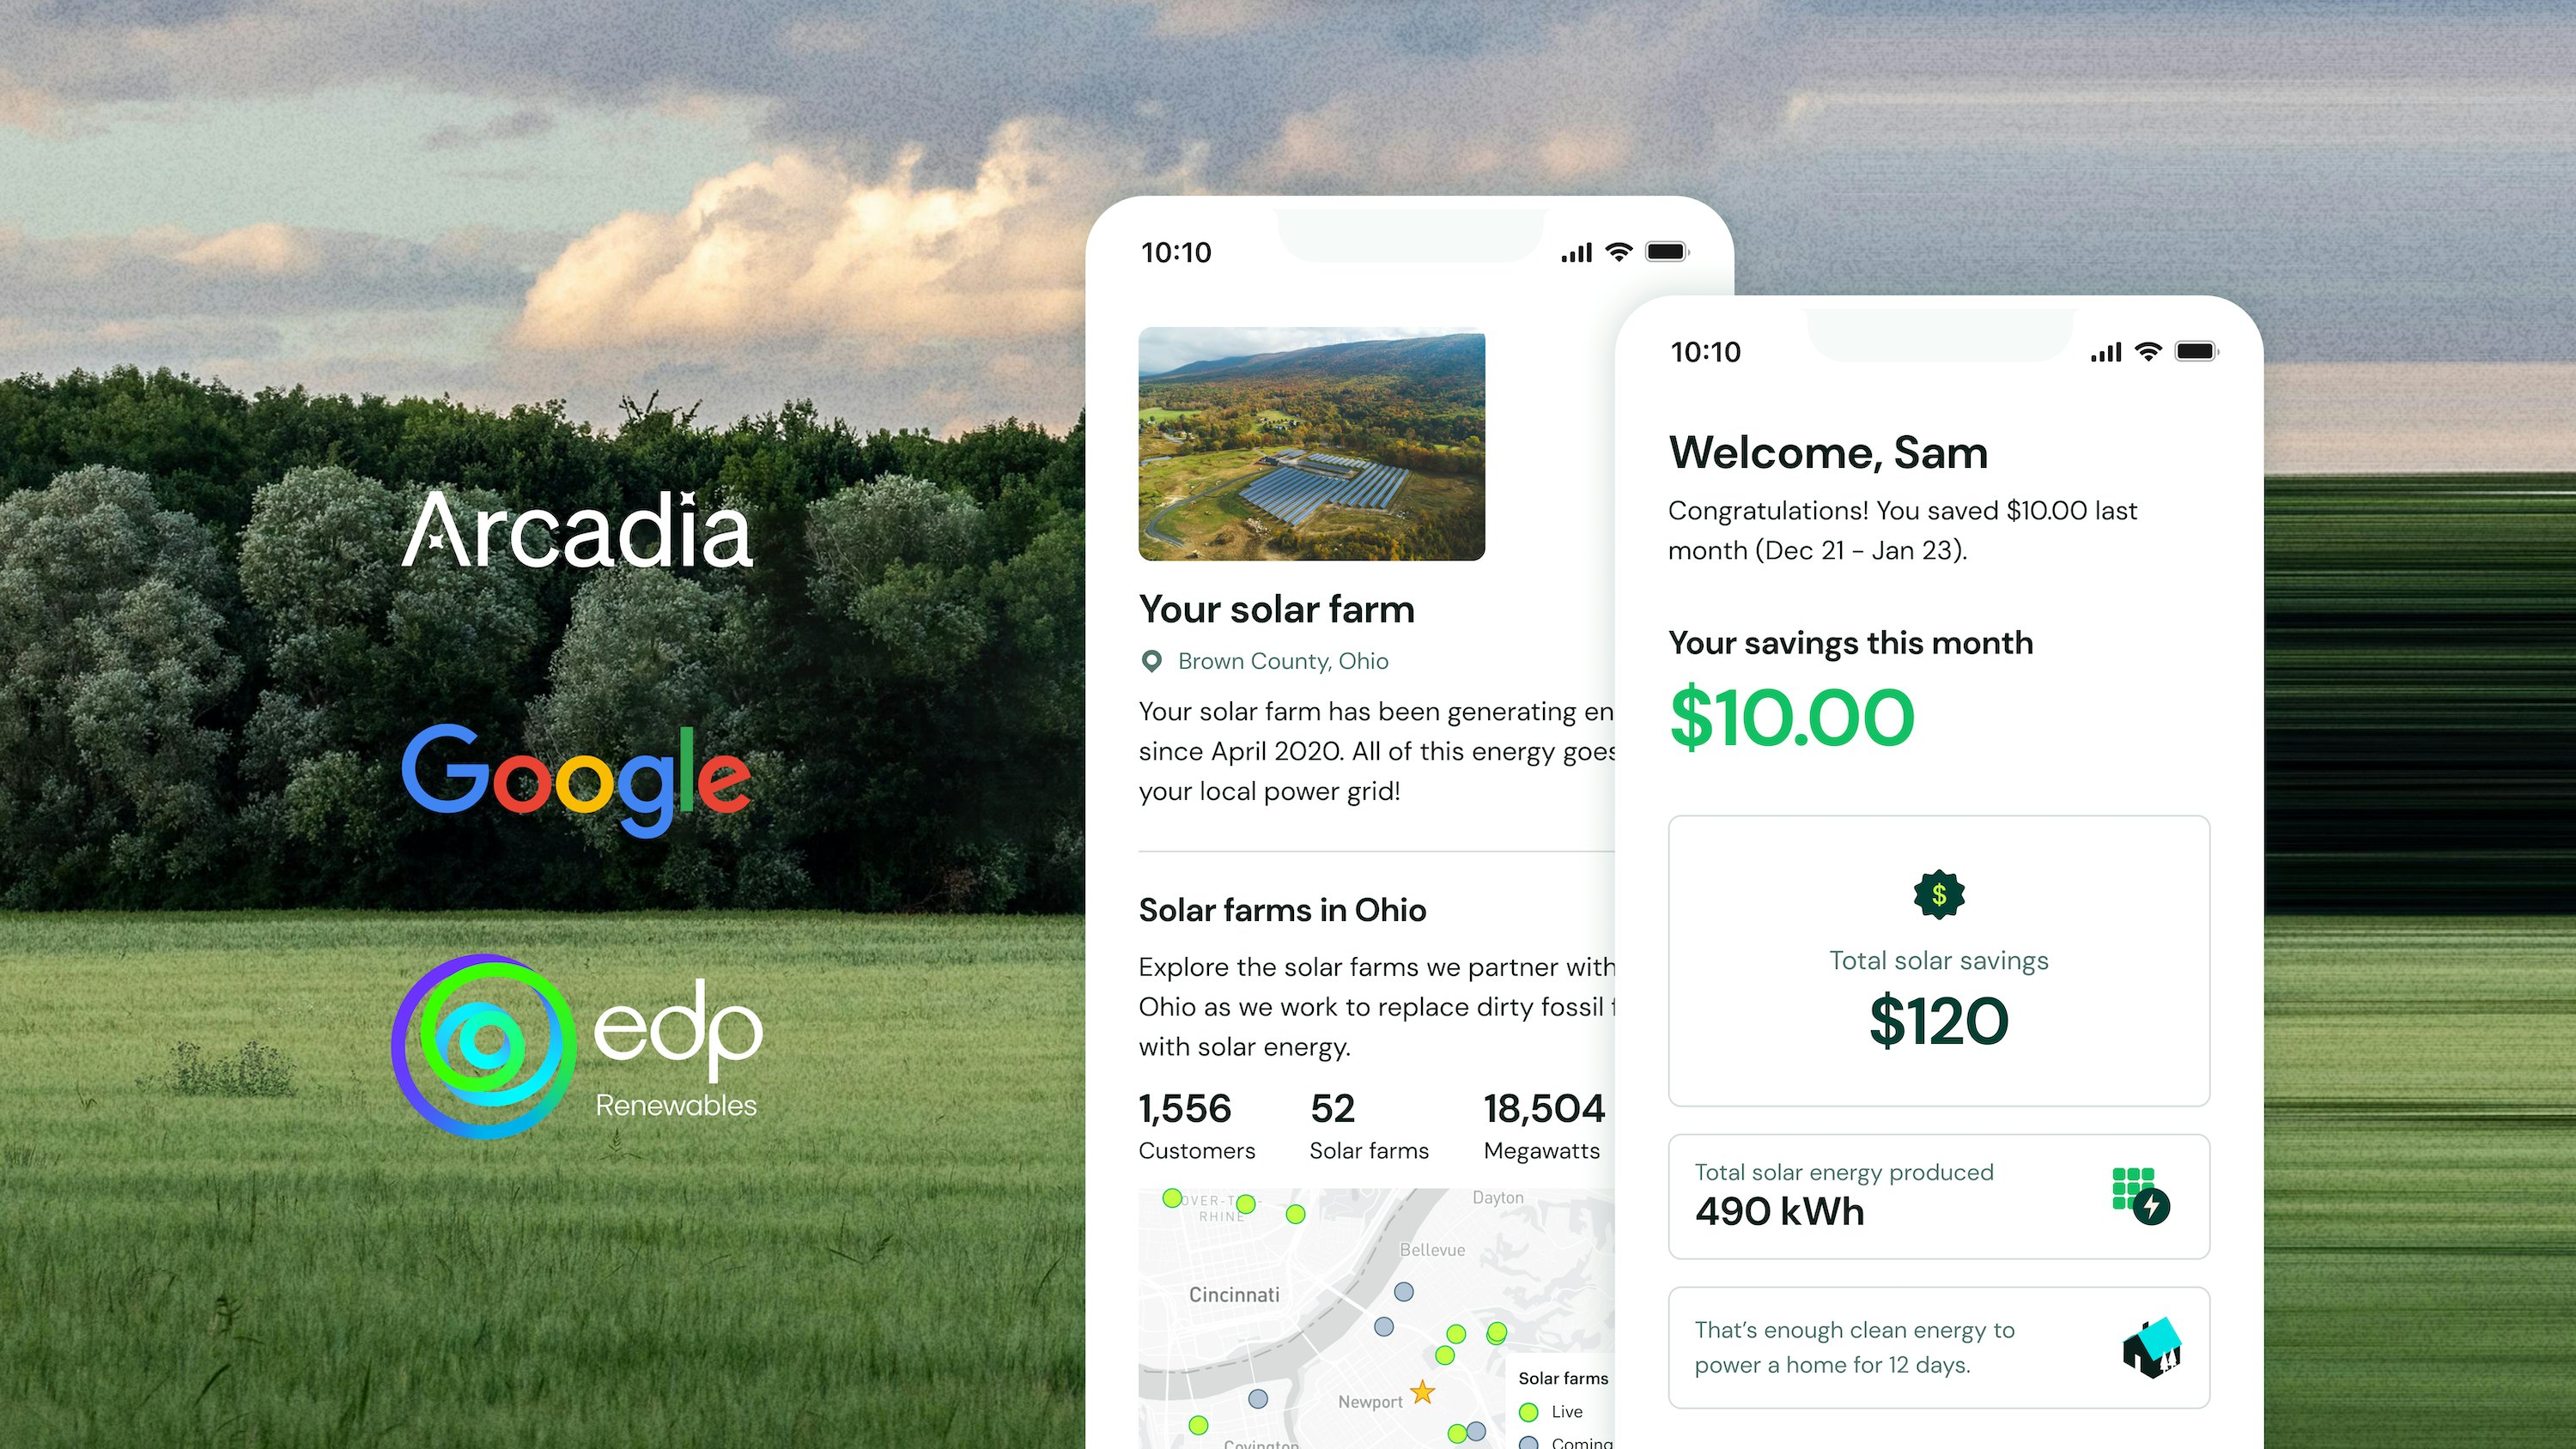
We’ve teamed up with Google and EDPR NA Distributed Generation to implement a novel solution addressing the energy cost burden faced by over 30 million US households.
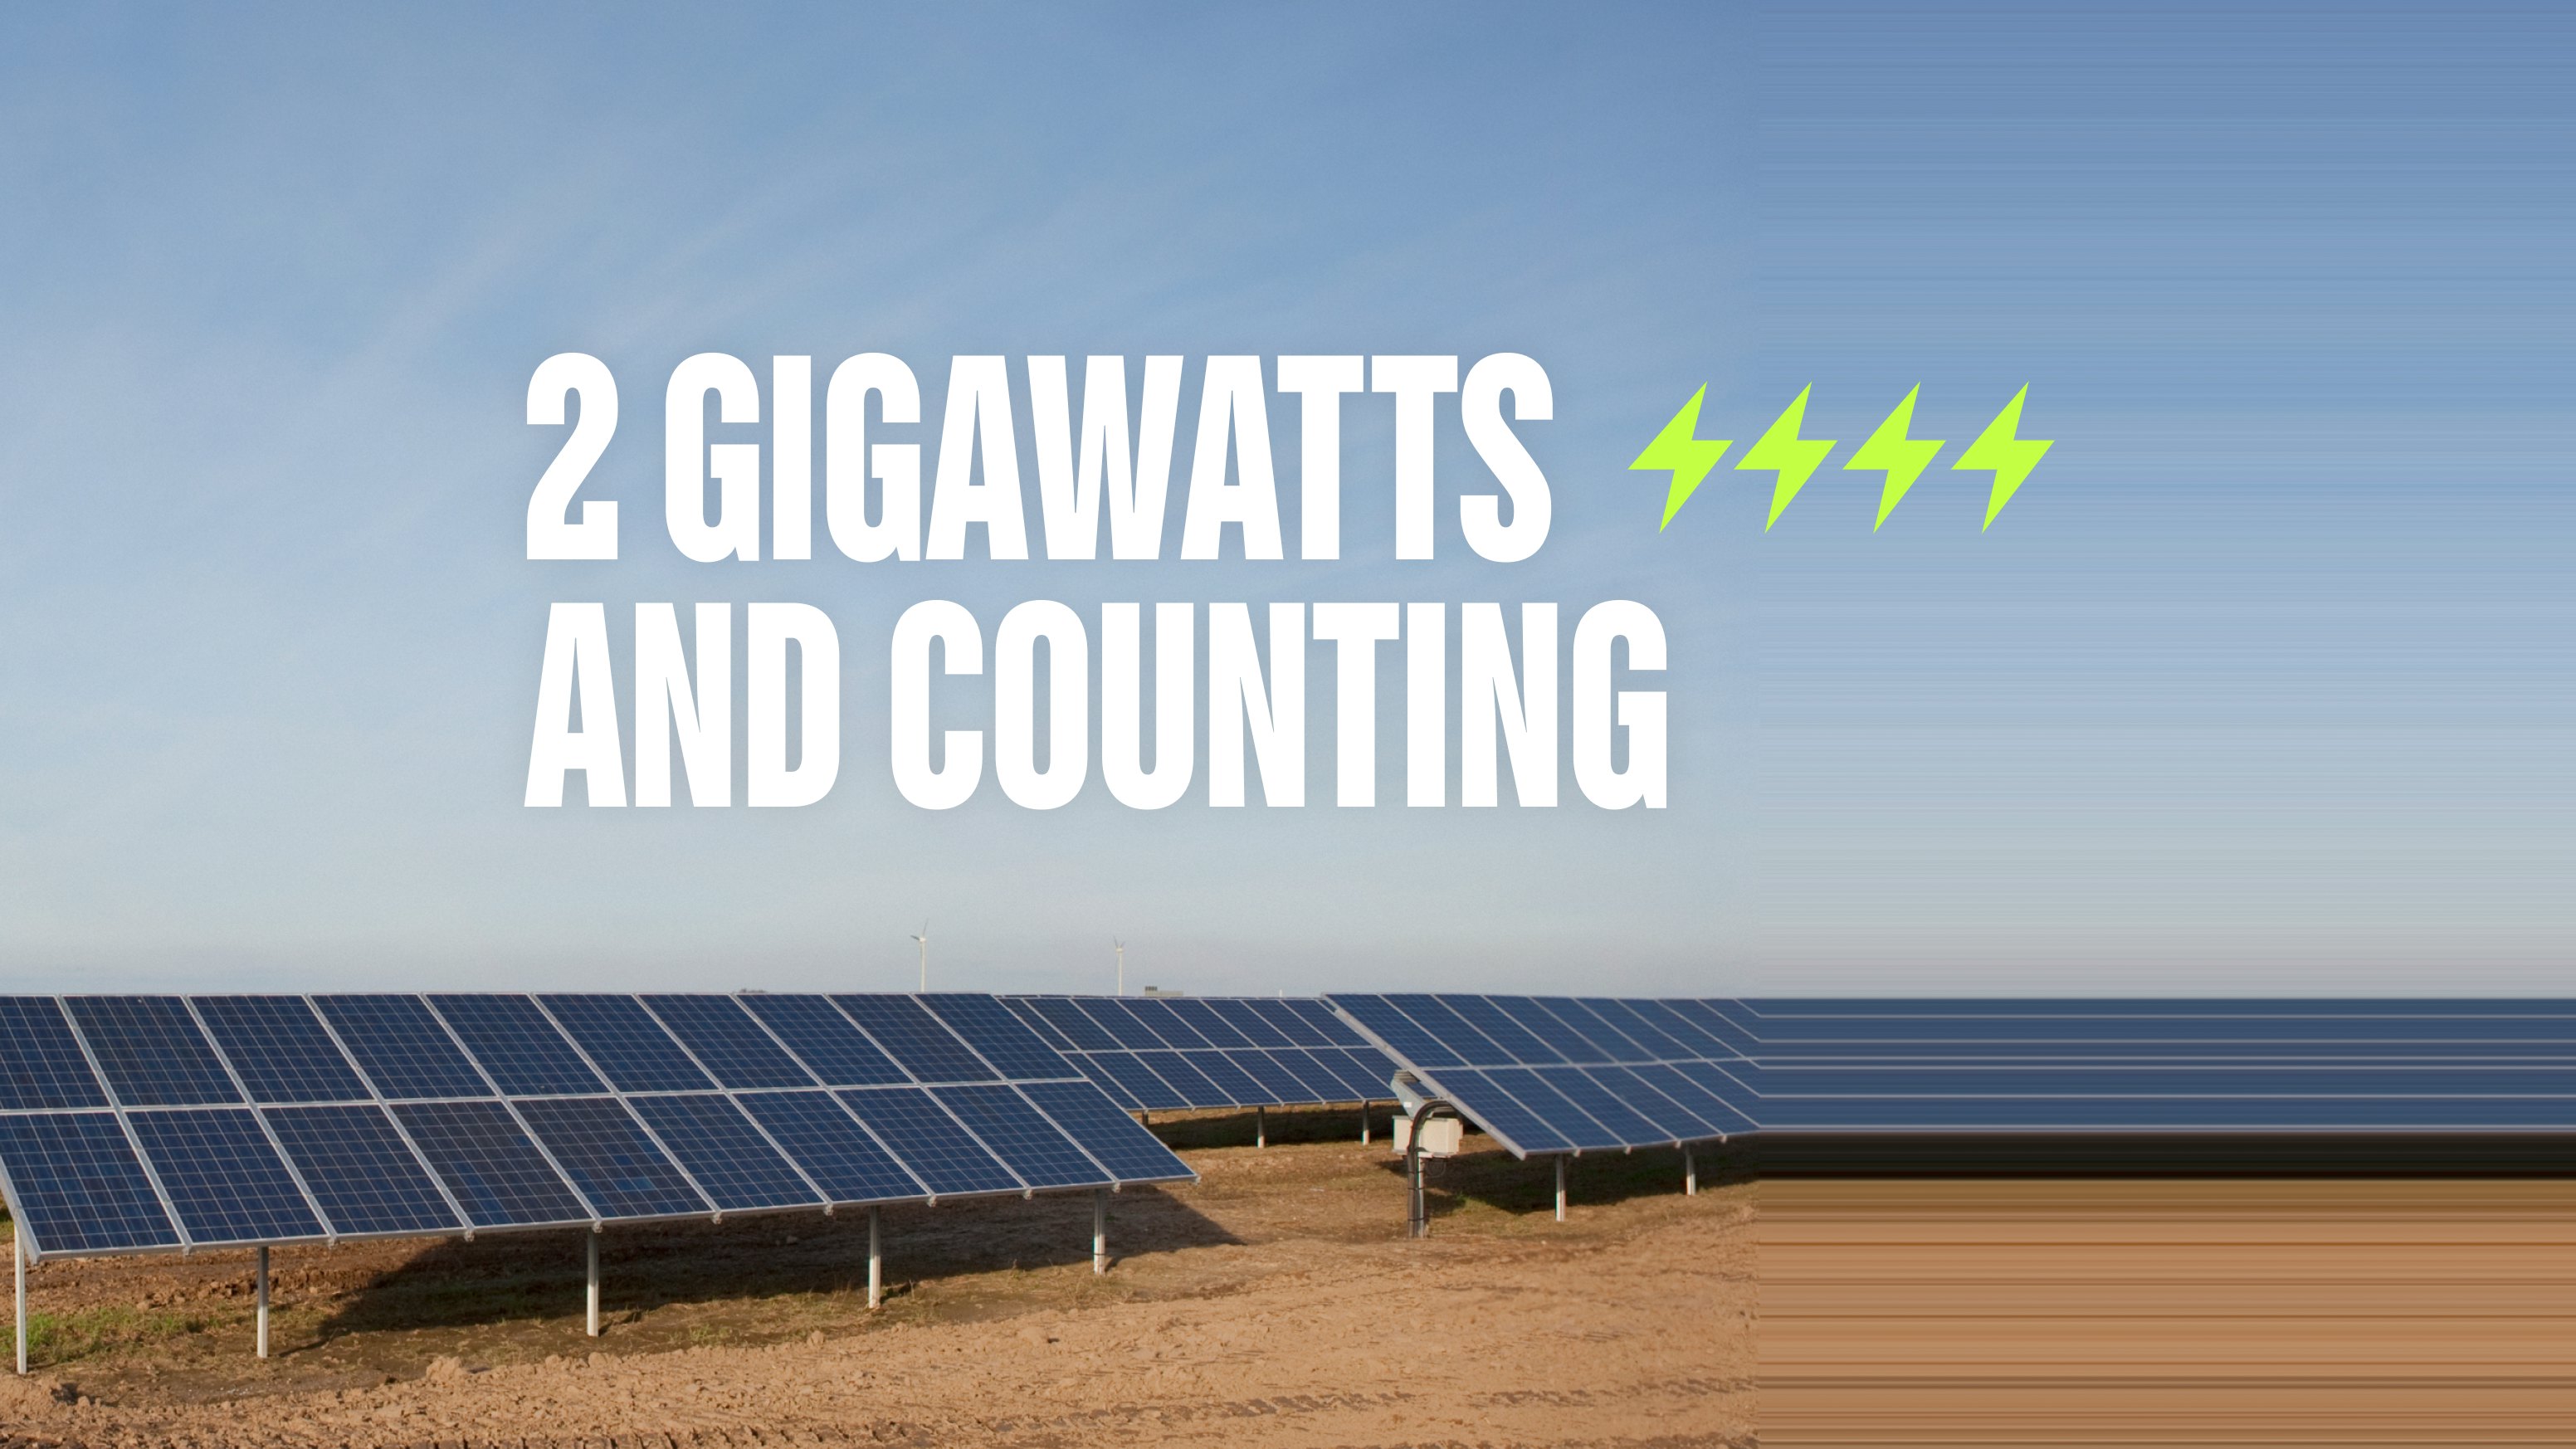
Our founder Kiran Bhatraju shares how we reached two gigawatts of solar capacity, and what this milestone means for the clean energy transition.
Recently published
No Results Found
Please try adjusting filters to expand your options.